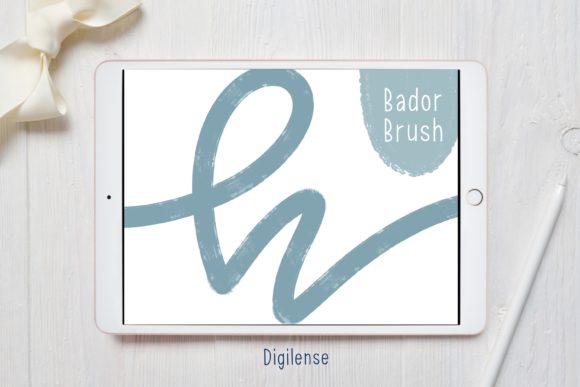
Mastering Hand-Lettered Designs with the Procreate Lettering Brush - Bador
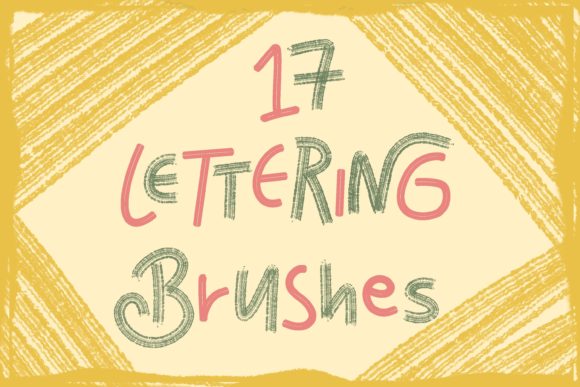
Digital lettering can feel intimidating when you first open your iPad, especially if you are used to the tactile feedback of pen on paper. Many creators stumble not because they lack talent, but because they are using the wrong tools or misunderstanding how digital brushes function. This is where the Procreate Lettering Brush - Bador becomes a game-changer. Designed to mimic the natural flow of traditional calligraphy while offering the flexibility of digital art, this brush helps bridge the gap between amateur sketches and professional-grade typography. However, simply downloading the asset is only the first step; understanding how to integrate it into your workflow correctly is what separates frustrating experiences from seamless creation.
When you purchase or download this tool, you will receive a ZIP file containing the lettering Procreate brush and a PDF file detailing how to install the procreate brush on iPad. It sounds straightforward, yet this is often where the first common mistake occurs. Many users attempt to import the brush directly from the ZIP file without extracting it first. Procreate cannot read compressed archives. If you try to tap the ZIP file within the app, nothing will happen, leading to confusion and the false assumption that the file is corrupted. To avoid this, you must use a free app like FileExplorer, File Manager, or iZip to unzip the file initially. Once extracted, locate the specific brush file and choose "Open in Procreate." If this option does not appear immediately, do not panic. Open a new canvas, tap the paintbrush icon to access the Brushes panel, and tap the button above the list of brushes to import a new brush manually. Navigate to the folder containing your downloaded file, tap on the brush, and it will load instantly.
Avoiding the Trap of Default Settings
One of the most frequent oversights among beginners and even seasoned professionals is relying entirely on the default settings of a new brush. When you start using the Procreate Lettering Brush - Bador, it is tempting to dive straight into lettering without adjusting the stroke dynamics. Every hand moves differently, and every iPad model has slightly different screen friction. Using the brush "out of the box" often results in lines that feel too heavy, too light, or unresponsive to pressure changes. This can severely affect the quality of your presentation and the consistency of your brand assets if you are creating logos or social media graphics for clients.
To correct this, take a few minutes to test the brush on a blank canvas before starting your actual project. Adjust the streamline feature if your lines feel too shaky, or tweak the size limits if the thick-and-thin contrast isn't pronounced enough for your style. Think of the brush as a customizable instrument rather than a fixed stamp. By fine-tuning these settings early, you ensure that the tool adapts to your hand, rather than forcing your hand to adapt to the tool. This small investment of time saves hours of frustration later when you are trying to fix uneven letterforms.
The Misunderstanding of Resolution and Canvas Size
Another critical area where creators often falter involves canvas setup. A beautiful brush cannot compensate for a low-resolution canvas. Some users create tiny canvases to save on device memory, only to find that their lettering looks pixelated when exported for print or high-definition screens. This mistake can be costly for entrepreneurs and marketers who need crisp visuals for packaging or large-format advertising. The Procreate Lettering Brush - Bador is vector-like in its smoothness, but it still relies on the raster resolution of your canvas.
Always start with a canvas size that matches your intended output. If you are designing for Instagram, 300 DPI might be overkill, but for print materials, it is non-negotiable. Check your document settings before making the first stroke. If you realize halfway through that your canvas is too small, you can resize it, but this sometimes affects brush behavior and line weight perception. It is far more efficient to set the stage correctly from the beginning. Remember, digital real estate is cheap; do not compromise your final product's clarity to save a few megabytes of storage.
Overlooking the Learning Curve of Digital Pressure
Transitioning from physical pens to a glass screen introduces a unique challenge: the lack of texture. Many hobbyists and educators find that their usual pressure techniques do not translate perfectly to the iPad. With the Procreate Lettering Brush - Bador, the pressure sensitivity is calibrated to reward nuanced touch, but if you press too hard or too lightly due to habit, your letters may look inconsistent. This inconsistency can undermine the professional look of your work, making it appear amateurish despite using a high-quality tool.
The solution lies in deliberate practice and awareness. Spend time doing warm-up drills—drawing loops, lines, and curves—to get a feel for how much pressure yields specific line weights. Unlike traditional ink, digital ink is forgiving; you can undo and retry endlessly. Use this to your advantage. Do not settle for a stroke that feels "off." Erase and try again until the muscle memory aligns with the digital response. Over time, this builds a reliable connection between your intent and the output, ensuring your communication through typography remains clear and impactful.
Making Informed Decisions Before You Start
Before committing to a project using this brush, evaluate your specific needs. Are you creating whimsical quotes for a blog, or sharp, corporate lettering for a business card? The versatility of the Procreate Lettering Brush - Bador allows it to handle various styles, but it shines brightest when paired with the right color palette and background texture. A common error is placing dark lettering on a busy background without checking contrast ratios, which hurts readability and accessibility.
Take a moment to plan your composition. Sketch a rough layout using a basic pencil brush before switching to your primary lettering tool. This prevents the mistake of running out of space or having awkward kerning (spacing between letters) that requires tedious fixing later. Good planning enhances efficiency and ensures that the final result communicates your message effectively. Whether you are a freelancer delivering client work or a creator sharing personal art, these preparatory steps elevate the perceived value of your output.
Ultimately, tools like the Procreate Lettering Brush - Bador are powerful allies in your creative journey, but they require respect and understanding to yield their best results. By avoiding the pitfalls of improper installation, ignoring settings, neglecting resolution, and skipping warm-ups, you position yourself for success. Digital lettering is not just about making pretty words; it is about clear communication and professional execution. With the right approach and a bit of patience, you can transform your ideas into stunning visual realities that resonate with your audience.